Product description
- Article code: 1212061001
Product description
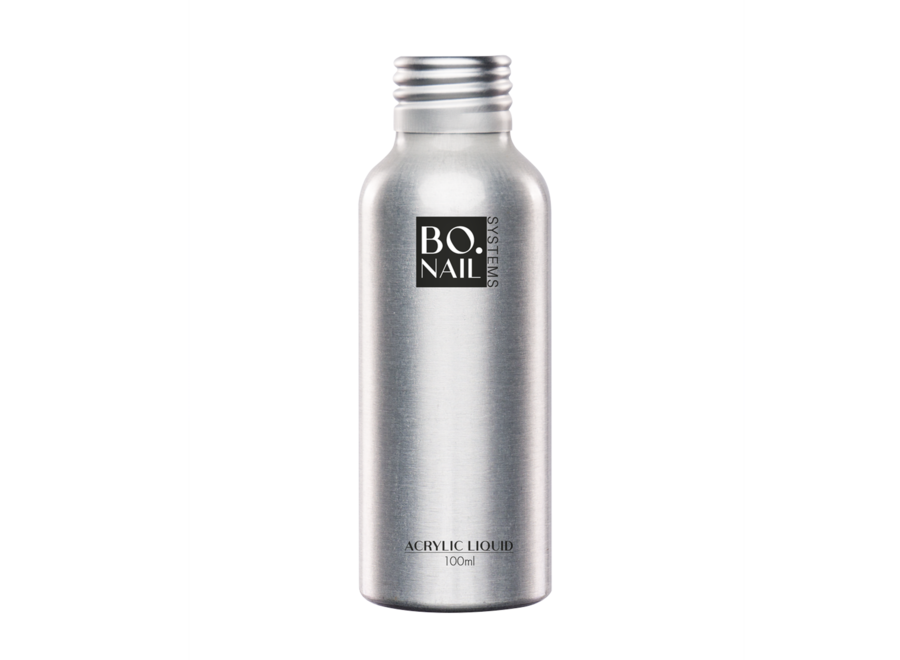
This liquid monomer is designed to combine easy application with a superior finished product. Product yellowing is a thing of the past thanks to the enhanced color stabilizers. The plasticizers act as shock absorbents to eliminate the chipping and breaking associated with other liquid monomers. The most revolutionary aspect of this monomer is an optimal balance between cure and set time. Controlled curing - this liquid has been developed to offer you enough time to create the perfect smile line, and also enough time to perfect your c-curve.
Available in: 50ml, 100ml, 250ml, 1000ml
Features & benefits
- Controlled curing
- Optimal adhesion, no lifting
- Consistency in c-curve shape
- Non yellowing
- No chipping or breaking
- Durable
- No extra dyes - consistent color every time
- Guaranteed total natural look
- Easy to apply - suitable for all services on natural nails, tips or forms
- Perfect protection for clients with thin natural nails as a protective layer
- Does NOT Contain MMA: Ethyl Methacrylate based monomer
- Plasticizers - give the nail flexibility
- Self-levelling stabilizers - allows technicians to have total control of the product that is being applied
Usage
Combine BO. Acrylic Powders with BO. Acrylic Liquid to create beautiful strong nails. Application time may vary depending on climate conditions. Extremely hot weather may cause the product to setup faster, or extremely cold weather conditions may cause the product to set up slower. Recommended mix ratio: 1 part liquid and 1 part powder. It may be necessary to slightly adjust your Monomer-Polymer ratio to the climate conditions, however this will not affect the strength or durability of the nail due to the plasticizers.
Step 1: Follow the steps for preparing the natural nail.
Step 2: Apply a thin layer of BO. Air Bond on the natural nails and let it dry for about 30 seconds (no UV light is used). The product will remain slightly sticky.
Step 3: Place the first bead of acrylic on the free edge. Using the tip of your brush, gently bring (press) the sides of the bead to each side of the free edge. Keep brush half wet to keep product workable. Gently blend the product onto the natural nail.
Step 4: Place a second bead on the center of the natural nail plate. Guide the product from left to right (left and right Lateral Sidewalls of the natural nail). Blend the product towards the cuticle. Tuck the lateral edges of the nail well with the acrylic and form a thin clean edge, without touching the skin. The remaining acrylic should be spread gently over the free edge.
Step 5: Apply a third bead at the cuticle. Leave a small space around the cuticle. Never touch the surrounding skin with acrylic! A thin layer in this area provides a natural, good-looking and long-lasting nail extension. Air fringes are prevented by pressing the acrylic well and a gradual thin transition to the natural nail at the cuticle.
Step 6: Follow the filing technique steps to file the nails into shape if needed.
Step 7: Follow the steps for applying BO. Soakable No Wipe Top Gel.
Reviews
Recent articles

BO.NAIL SYSTEMS
BO.NAIL Acrylic Liquid (100ml)
DKK 131,01

BO.NAIL SYSTEMS
AcryGel Clear (60 G)
DKK 158,02

Beauty Company
Cordless Nail drill White
DKK 1.193,34DKK 1.491,76

Hola Nail Cosmetica
HNC Rubber Base Soft Nude (10ml)
DKK 36,93DKK 85,80

Ez Flow
Amberina - color powder acyrlic
DKK 64,98


